
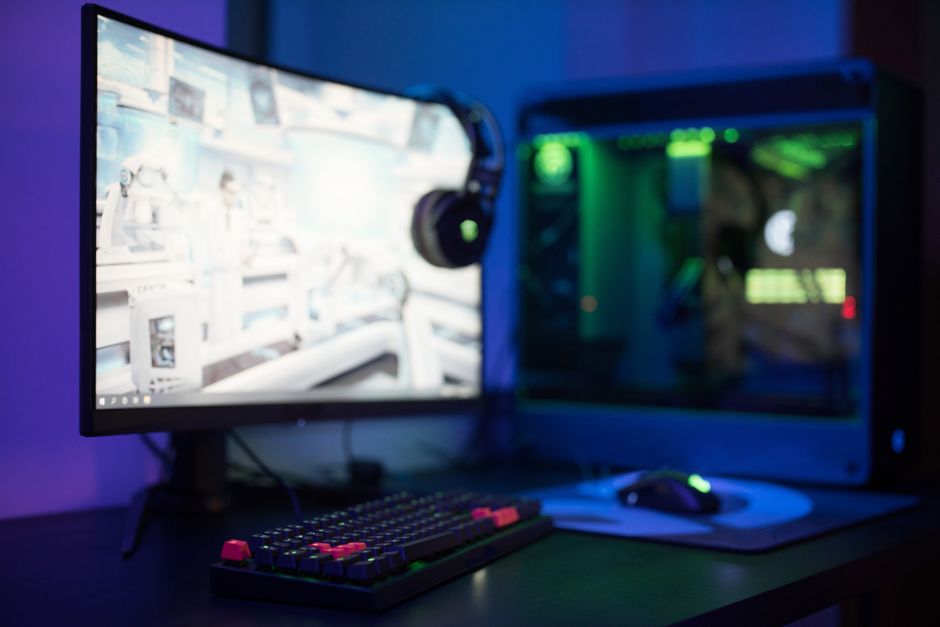
In the ever-evolving world of video games, having the right equipment can make all the difference. For many gamers, building a custom gaming PC is an exciting and rewarding project. Not only does it allow for greater personalization and performance, but it also provides a deeper understanding of how computers work. This guide will take you through the essential steps and considerations for creating your own gaming rig.
Understanding Your Needs
Before diving into components and specifications, it’s crucial to assess your gaming needs. Are you a casual gamer who enjoys titles like The Sims or Stardew Valley? Or are you a hardcore enthusiast who plays demanding games like Cyberpunk 2077 or Call of Duty? Your gaming habits will heavily influence the type of hardware you need.
For instance, casual gamers can often get away with mid-range components. However, if you’re looking to play the latest titles at high settings with smooth frame rates, you’ll need to invest in higher-end parts. This includes a powerful GPU, ample RAM, and a fast CPU.
Choosing the Right Components
When it comes to building a gaming PC, choosing the right components is essential. Here’s a breakdown of the key elements:
- Processor (CPU): The heart of your PC, the CPU, determines how well your system can handle tasks. Look for multi-core processors that can handle modern games.
- Graphics Card (GPU): This is the most crucial component for gaming performance. Brands like NVIDIA and AMD offer a range of options depending on your budget.
- Memory (RAM): Aim for at least 16GB of RAM for gaming. This ensures smooth multitasking and game performance.
- Storage: An SSD (Solid State Drive) will significantly improve load times compared to traditional hard drives. Consider a combination of SSD for your operating system and a larger HDD for other files.
Once you have a list of components, you can use a gaming PC builder tool to ensure compatibility and find the best prices.
Building Process: Step-by-Step
Now that you have all your components, it’s time to put everything together. While it can seem daunting, following a step-by-step guide can simplify the process:
- Prepare Your Workspace: Choose a clean, static-free area to work. Gather all necessary tools, including a screwdriver and anti-static wrist strap.
- Install the CPU: Carefully place the CPU into the motherboard socket, aligning it according to the notches.
- Add RAM: Insert the RAM sticks into the designated slots on the motherboard, ensuring they click into place.
- Attach the GPU: Slide the graphics card into the PCIe slot and secure it with screws.
- Connect Storage: Attach the SSD and HDD to the motherboard and power supply.
- Power Up: Connect all cables properly and power on the system. Enter BIOS to configure settings before installing your operating system.
Testing and Optimization
Once your PC is built, it’s important to test its performance. Use benchmarking software to evaluate how well your system runs under load. Monitor temperatures to ensure everything is operating within safe limits. If you notice any performance issues, check your connections, update drivers, and optimize settings.
Additionally, consider overclocking your CPU and GPU for enhanced performance. This can provide better frame rates in games but should be done with caution to avoid overheating.
Conclusion: Enjoy the Fruits of Your Labor
Building your own gaming PC can be a fulfilling endeavor, offering you the chance to create a system tailored to your needs. By carefully selecting components, following a structured building process, and testing your system, you’ll be rewarded with a powerful gaming rig that enhances your gaming experience. So gather your parts, follow the steps, and get ready to dive into the gaming world with confidence!